Welding is a process that can be done in many different ways, but it always has to start with a welding cart. A welding station is necessary for anyone who wants to weld properly and do so without any discomfort or difficulty. This article will show how to build the perfect welding cart for your home shop or garage!
Identify the kind of welding you want to do
The first thing you’ll want to do is figure out what type of welding you want to do. This guide will deal with how to build a welding cart for TIG or Stick welding.
There are two main types of welding, TIG (tungsten inert gas) and Stick (shielded metal arc). Both are pretty cool and have their own benefits. I will talk about how your welding cart should be laid out if you’re using TIG as your primary kind of welding.
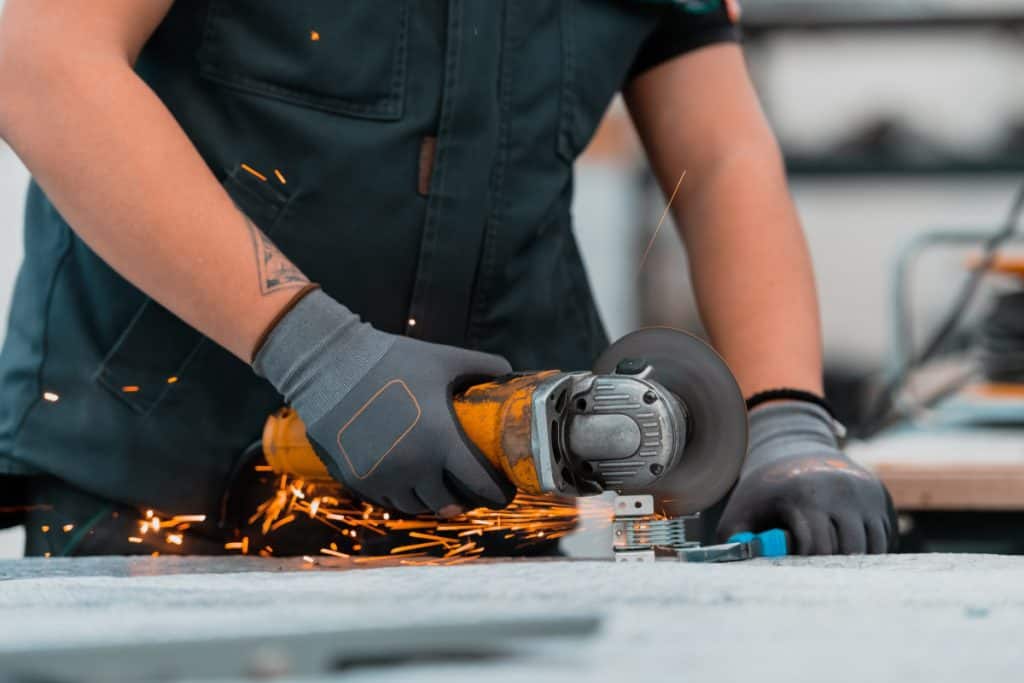
In recent years, TIG Welding has become a popular and preferred method for MIG welders due to how clean the welds are and how easy it is to control the heat on thinner materials. For this process to work, you need to have a TIG welder and a piece of shielding gas.
Plan how you want to set up your welding station
Your welding cart must have enough room for the equipment and additional items like fume extractors or even an air compressor if needed!
A typical setup for how I would lay out my TIG station is going to look something like this:
- TIG welder on a cart with two wheels. This is so I can easily roll it around and have more space for my tools or other station needs.
- A gas cylinder rack to hold the shielding gas cylinders, which are typically going to be larger than your welding wire spools anyways! Note how I’ve left space in the middle for a table. This is where I typically lay out my materials and set up how I want them to weld before starting my TIG welding process!
- A cart with two wheels that can be used for any material or filler rod, which will also have an area designated on top of it, just like how you would have a table for how you want your welding to go!
- A tray with two sides can be used to store wire spools or other things that are larger and may not fit in the cart. The size of this will depend on how large your wire spools are, but it’s good to have at least some kind of storage for how you’re going to lay out your wire spools.
- A fume extractor with a long hose and filter bag can be hung at the front of this cart to help ventilate fumes away from where you’ll be welding and also prevent any vapors or particles from getting into your lungs!
Stick welding is typically done with a MIG welder, or in some cases, you may need to weld thicker materials like stainless steel. For how I would lay out my cart for stick welding, it’s going to look something like this:
Note how instead of having an area designated on top of the cart, there are two sides! This is how you would lay out wire spools or other filler rods.
Also, I’ve left this cart with only two wheels because it will typically be sitting in one spot for the duration of time that you’re welding!
The last things to consider are how much space you have available and what kind of materials you will be welding?
- If you are short on space, a cart with two wheels can still have enough room for how much material or filler rods.
- If you’re going to be welding thicker materials like stainless steel, it’s best if the cart is larger and has four wheels so it can roll around easier! Either way, make sure you have two sides for how to lay out wire spools, filler rods, or other materials!
- A handy thing that most welding carts will include is where the welder can be plugged in and has an electric outlet. This is great if you need to weld anywhere outside of your shop since it doesn’t require generator or extension cords.
Assemble the bases for your cart using your table saw and drill bits
Once you have all your parts, it’s time to assemble your welding cart!
The first step is to drill holes into the bottom of your base pieces for how many wheels it will have. This can be a little tricky if you’re going to use four wheels, but this video shows how easily these types of bases are assembled with just two:
Next up, attach the four wheels to how you want them on your cart, and then use an assembly tool or screws/bolts to secure how they’re attached!
Finally, position how you would like where everything to be positioned for how the welding will go. This may take a little trial and error before finding what works best for each person or their needs.
Add the accessories to your cart based on how you plan to use them!
Lastly, add the accessories that are best for your welding cart!
If you’re using a MIG welder, make sure there is an outlet available so you can plug it in. If not, then maybe consider getting one when assembling how everything goes together.
A gas cylinder rack should have enough space on top of it for how you want the filler rod to go.
A cart with two wheels that can be used for any material or filler rod, which will also have an area designated on top of it, just like how you would have a table for how you want your welding to go! A tray with two sides can be used to store wire spools or other things that are larger and may not fit in the cart. The size of this will depend on how large your wire spools are, but it’s good to have at least some kind of storage for how you’re going to lay out your wire spools.
A fume extractor with a long hose and filter bag can be hung at the front of this cart to help ventilate fumes away from where you’ll be welding and also prevent any vapors or particles from getting into your lungs!
Summary
If you’re looking to make a welding cart, there are many different things you’ll need to keep in mind when assembling how the cart is going to be set up. Things like how much space you have available or how thick the material you’ll be welding will affect how you assemble how your welding cart will look.