Welding jobs in shipyards, construction buildings, the oil and gas industry, pipe fittings, and power plant construction all require welders to weld massive metal structures in a vertical position. It is harder to move such an enormous piece of equipment and lay them down horizontally for convenience. If you want to know more about how to weld vertical, then keep on reading.
Upright Welding Position
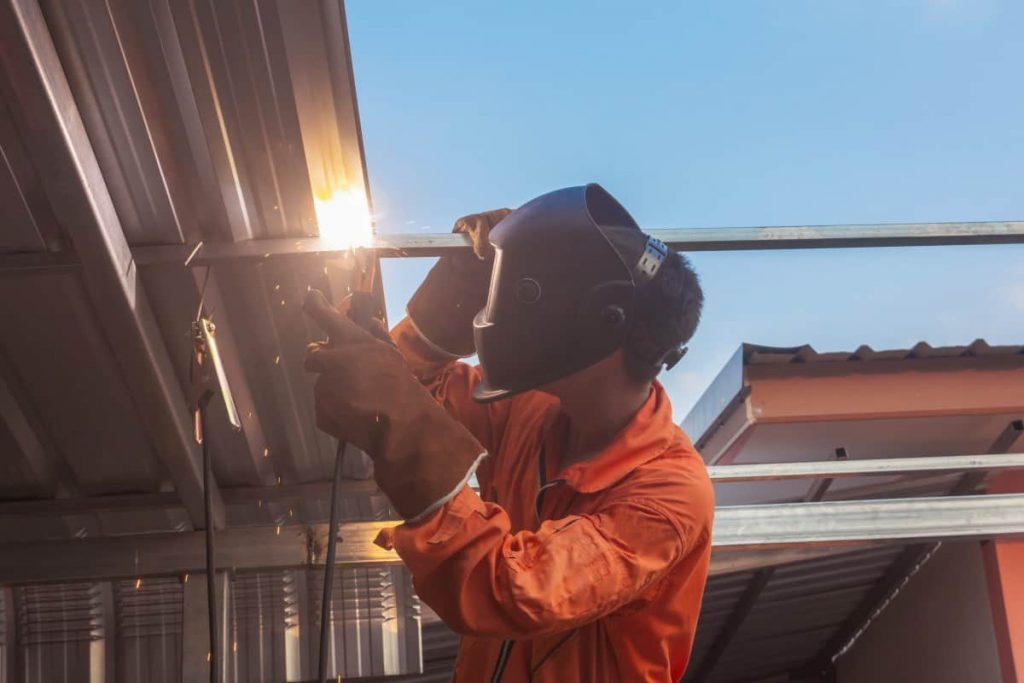
When you place two pieces together in a way that one end faces downwards toward the ground, while the other points skywards, it is known as the vertical or upright welding position. Welding in such positions requires skills and experience.
Construction sites routinely require you to join two pieces of metal together in the upright position. It is impossible to maneuver such heavy parts for the ease of the welder. Since the result in these applications must be durable and strong, the demand for skilled welders is on the rise.
The most commonly used procedure in construction applications is stick welding or shielded metal arc welding.
Weld Directions
There are two basic torch movements when welding vertically.
- Vertical-up
- Vertical-down
Even though the two terms are pretty self-explanatory, here is a short description of both.
Vertical-Up
When welding using the vertical-up movement, think of it as building a brick wall where you start by building a strong base and then gradually move upwards. In this technique, you begin by welding from the bottom and slowly move upwards, creating strong support for your joint.
It is a slow process and requires patience. The welder moves one step at a time as they are simultaneously combating gravity. Each section acts as the base for the next and is known as the shelf.
A pro tip: Make sure that each shelf is 1.5 to 2 times larger than the diameter of the electrode you are using. Doing so will create a puddle that will freeze in the time you take to make the next shelf.
You can also use a zigzag or a weaving technique when making your way up the workpiece. Focus on the sides of the joint as it gives the weld puddle the required buffer time to allow it to cool enough to ensure there is no burn through. It also ensures that the molten metal does not fall onto the welder’s feet.
To gain better penetration, you should hold the electrode slightly uphill and maintain a shorter arc. It allows you to better direct the electric arc towards the joint you are making. Doing so will also help you achieve better material penetration.
Vertical-Down
Vertical-down is essentially the same movement – just from top to bottom. Here, you have to keep a few things in mind. You are fighting against gravity, which brings the molten puddle into your work zone. You will have to stay ahead of the slag at all times. The method requires constant monitoring, and you need to set the amp carefully to avoid the risk of a burn-through.
A pro tip: Use a quick freezing rod as it makes the entire process a piece of cake. Otherwise, you may end up with a lot of slag and overlapped weld metals, which produces unsightly looking joints. Make sure you do not pause as you would in the vertical-up movement as pausing may result in the slag from the top shelf invading your current workspace.
Welders opt for the vertical-up movement for almost all joints unless the sheet you are working on is too thin, and you are worried the molten metal may fall off. Even though you can use either of these methods combined with any welding procedure, the most commonly used one is Shielded Metal Arc Gas Welding.
Stick Welding for Upright Joints
It is an arc welding procedure that can be used to join two pieces together with or without pressure and with or without additional filler metal. You can use this process to join many different metals together, provided they are thermal conductors.
For years, stick welding has been the most popular method for almost all welding needs. The technique uses an electric arc that flows from the electrode to the workpiece. The electric arc provides excellent weld penetration, which makes it ideal for use on thicker metals. It also can heat through rust and dirt, which is why it is preferred in most repair and building tasks.
Stick welding is ideal for drafty settings and outdoor use. It performs incredibly well on almost all alloys and materials. As an added plus, you can use it with both AC and DC power supply, and it proves more economical than other welding procedures.
Despite having its advantages, a significant drawback of stick welding is that its use is somewhat restricted to sheets no thinner than 18-gauge. Because it produces high heat and excellent material penetration, it is ideal for use on thicker metals only. Otherwise, you may end up burning through the workpiece.
You should use it to melt metal 1/16 inches or thicker. It is ideal for welding steel, stainless steel, and cast iron. When choosing the welding procedure, you will have to consider the application, the thickness, and your budget. You can also use MIG and TIG welding techniques for upright joints.
Metal Inert Gas for Upright Joints
MIG welding is probably one of the easiest to use for most joints. It is incredibly easy to learn, and most amateurs manage to pull off a MIG weld effortlessly. However, using this process for upright joints requires skill.
MIG uses an electric arc and a continuously fed filler wire that melts and bridges the gap. It is a clean and comfortable process. When welding vertically, many welders prefer the vertical-down movement as here, gravity aids the process. However, for thicker metals, this is not a good idea. The slag remains concentrated in the middle, resulting in weaker material penetration on the sides.
Professionals or skilled welder opt for the vertical-up movement. In this technique, they end up moving against gravity, which makes directing the weld puddle harder, but it gives better weld penetration. We recommend you follow the upside-down V movement.
The upside-down V allows you to weld along the length of the two pieces to be joined. It solves the problem of slag and ensures ideal weld penetration for the filler metal to create a strong joint. Not all welders can manage to produce good quality results using the upside-down V method.
We do not recommend using MIG for vertical or overhead positions, as it does produce a significant amount of slag. However, if you are a skilled welder who possesses the skill to be able to manage the weld pool, then it is a faster method that’s suitable for use on various materials.
Tungsten Inert Gas for Upright Joints
TIG welding is useable on more metals than any other welding technique. It uses a non-consumable tungsten electrode, and you can add a filler wire by hand if need be. It creates minimal spark or spatters and reduces the amount of slag produced, which makes it easier to handle when welding vertically.
With TIG, you need to clean the workpiece before you start the welding process. With a clean workpiece, you will have better control over the weld bead, allowing you to create a clean weld. Unlike MIG, TIG is a recommended procedure for upright joints.
You can use multiple movements to join two pieces together along their length.
- keyhole method – In this process, you heat the two pieces till a gap forms in the middle, and you fill it in with filler wire. The process gives excellent weld penetration and creates durable joints.
- Up down method – The up down and up movement is another way to place in filler metal efficiently. It ensures there is no slag and that the molten pool travels and adjusted as it goes.
- Stitch method – By moving the torch side to side and up, you distribute the heat evenly throughout the metal plates.
TIG is suitable for almost all applications and in all positions. Make sure you use pure Argon as shielding gas to protect the workpiece from external contamination. As long as you can maintain the heat input, you will have incredible control over the weld bead, leaving you with beautiful and clean weld joints.
The most commonly used process for upright positions is stick welding. It is the easiest to use in breezy outdoor environments as there is no shielding gas required in the process. Maintaining the ideal coating of gas in windy conditions becomes difficult. Both MIG and TIG involve the use of shielding gas, which makes them not so ideal.
To help you master stick welding vertically, here are a few tips that you can use.
1. Choose the Right Electrode
Upright welding requires you to put up a fight against gravity. Nobody should go into battle with the wrong weapons. The right electrode can help you ensure that the resultant joint is the best possible joint you can produce.
When selecting an electrode for welding vertically-up, we recommend that you opt for one that has low iron powder content. Iron powder takes more time to cool down. An electrode with less iron powder will set quicker and will not drip or produce slag.
You can opt for either AWS 6010 or AWS 7018. When using a 7018 electrode, use a weaving pattern. For 6010, we suggest you utilize the whipping or stacking technique in which you pull the stick in and out of the weld puddle intermittently.
When moving vertically down, use an AWS 7024 electrode. It does not set as quick, which allows the weld pool to travel down the surface. The displacement of molten metal is a prerequisite for success when welding vertically-down.
2. Create Weld Shelves
Unless you’re working with thinner metal structures, we suggest that you always use the vertical-up movement. It is difficult and time-consuming, but it produces the best results. To make the process easier, you can create weld shelves.
A weld shelf is when you join one section of the workpiece and then move on the next. The pool for the former weld acts as the weld shelf for the next section. Ideally, you should try and restrict the pool to 1.5 or twice as large as the electrode you are using. It offers the best weld penetration.
With a 7018 electrode, you should opt for the weaving technique. The result will look similar to a checkers board. With a 6010 electrode, you should opt for the stacking technique where the result will look like poker chips placed next to each other.
3. Low Current and Low Power Settings
A prevalent mistake that you may end up making is using high power settings, which can lead to multiple problems, including undercutting. You can easily avoid the problem by lowering the current and slowing down the entire process. Doing so reduces the pool size and increases the control you have over the resultant appearance.
Similarly, to allow the molten puddle to freeze off, you should reduce the amperage setting. It will also help you maintain better control.
4. Safety First
In all welding procedures, a welder should always follow the standard safety guidelines. However, they need to take special care when administrating out of position welds, whether upright or overhead.
- Use an Auto Darkening Helmet – Using an excellent auto-darkening helmet is particularly important when welding. In out of position welds, the job requires you to be vigilant and monitor the molten pool continuously to ensure there are no mishaps. You cannot afford to switch lenses in the middle of the job. Because arcs are very bright, you need to ensure you have the best quality helmet to protect your visions.
- Safety Glasses – Stick welding produces a significant amount of spatter. Having removable safety glasses in addition to your helmet may sound a little extra, but it is for your safety. Also, it is easier to take off your glasses and clean them then it is to take off a helmet.
- Steel Toe Boots – To produce the ideal weld joint, the slag must drip off before you place it in the filler metal. Combine the dripping metal with the spatter, and your feet are at serious risk of injury. Steel toe boots are must-have protective equipment. Otherwise, you may end up burning your feet.
- Flame Resistant Gloves – For upright stick welding procedures, we suggest you wear flame-resistant gloves that cover up to your elbows. They must be resistant to fire as you need to maintain a short arc in stick welding for optimal penetration. Combine that with the spatter produced, and your arms are at risk of severe burns.
- Flame Resistant Overalls – The same concept applies to clothes as it does to gloves. The heat, combined with the spatter, puts you at risk. You should layer up and wear full sleeve clothing protected with fire-resistant overalls.
5. Document your Welder’s Settings
Experienced welders have a few settings on their fingertips as per the material and application. It is a good idea to document the settings you use for your upright joints based on the material, thickness, amperage settings, current input, and so on.
Doing so will help speed up the process next time. Instead of testing out various settings, you can refer to your notes and choose the one you have already tried.
Which Weld Position is Easier to Weld?
There are four basic positions, flat, horizontal, overhead, and vertical. The most common types of welds are the fillet and groove joints. You can encounter these in almost all types of positions. Out of all four, the flat position is the easiest to weld.
In a flat joint, the actual face of the weld is in the nearly horizontal position. The front of the metal is flat, and your torch will move in a horizontal direction, making it the most accessible joint to make. All other positions are out of position welds that require you to pay a little more heed to the molten pool and employ techniques to ensure the cleanest resultant weld.
Do you Push or Pull when Welding?
When stick welding, the rule is relatively simple. If it produces slag, then you use the drag motion. If it does not produce slag, then you push the wire. When stick welding vertical, almost all welding techniques produce slag, so you will always use the drag motion to guide the molten pool in place.
Which Welding is the Hardest?
Tungsten Inert Gas is the most challenging process to master. It is a lot more tedious and significantly more complicated. It is harder to learn and requires significant practice before a welder is able to use the process efficiently. It is also relatively more expensive than others. Stick welding is the cheapest and is the method to consider when welding vertically.